I love a good board game, and when board games can make learning more fun, I think it’s a win for both the parents and the kids. But homeschooling parents cover a lot of different topics in a year. Can you make a board game to go along with any topic? Well, just about! Here is a simple way I found to create a board game about virtually any topic, for any age level, using basic images and Microsoft Word.
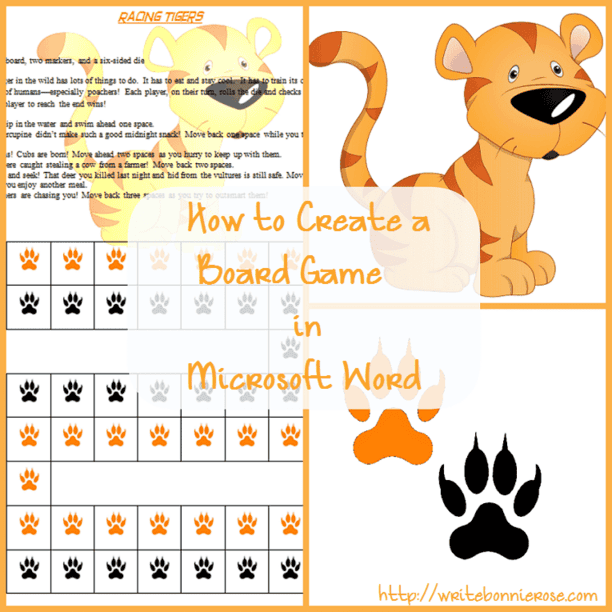
For this tutorial, I’m going to show you how I made Racing Tigers, a game for lower elementary students to have fun reinforcing some basic information about tigers.
1. In order to have room to get a game board and instructions on a single sheet of paper, you will likely need to adjust your margins. I have found the margins that work the best for me are .17” for top and bottom margins and .5” for the left and right margins.
2. Choose a background image related to the theme or topic of your game. I chose a friendly-looking tiger. There’s no need to scare the little ones with a ferocious beast!

3. You can position your image anywhere you’d like on the page—top, bottom, or center. There are a few things to keep in mind when choosing a position for your background image. If you place it behind the text portion of your game, you will need to be sure it can be lightened enough for the text to show up. If you place it behind the game board portion, you need to consider that your game board will contain smaller pictures that may block portions of the background picture.
For example, in the game Racing Tigers, the smaller images I used were tiger paw prints. But the paw prints are actually a square clip art image with a white background. If I place the tiger background image behind the game board, my printed page will have small white squares all over the background tiger. You can avoid this problem if you know how to remove the background of the smaller images and make them transparent in image editing software.
I chose to place the background tiger image behind where my text will go, and I lightened the picture 20% using the picture formatting tools in Word.
4. Now that your background is set, you can create the game itself. Begin by inserting a text box, the size of your page, with no border or fill.
5. Inside the text box you created, insert a table. For Racing Tigers, I used a table 9 squares across and 8 squares down. To create the blank spaces on the game board, I clicked into those squares and removed the appropriate border lines.
6. Choose a small image (or two small images) to represent your two players. Insert those images on the game board to show your players what path to take. I chose tiger paw prints in orange and black.
7. Write an opening paragraph explaining your game and connecting it to your topic. For Racing Tigers, I wrote:
What you need: game board, two markers, and a six-sided die
How to play: Every tiger in the wild has lots of things to do. It has to eat and stay cool. It has to train its cubs to hunt. And, it has to stay out of the way of humans—especially poachers! Each player, on their turn, rolls the die and checks the list below for instructions. The first player to reach the end wins!
8. Now create your instructions for rolls 1-6. This is where you can slip in some facts that will reinforce what you are studying! In my instructions, I showed that tigers enjoy the cool water, have babies called cubs, and hide their prey after a kill. I also showed that they like to snack on porcupines at times—but shouldn’t—are threatened by famers for killing livestock, and face danger from poachers.
9. Add a title to your game and voila! Get ready to have some fun!
The variations and applications for your games are virtually limitless. You can change the format of the game board, increase the options to include two dice, carry the game board onto two pages, etc… The main thing to remember is that creating a fun board game doesn’t have to be difficult or require advanced software programs. With just a few basic programs and images, you can create a game that can keep your children having fun and learning for hours!
I hope this tutorial has been helpful. I’d love for you to stop by my blog and read my tutorials on how to create copywork and how to create a lapbook.

Bonnie Rose Hudson is a writer who lives in central Pennsylvania. Along with spending time with her family and writing, making kids smile is her favorite thing to do. Her heart’s desire is for every child to feel the love of God and know how special they are to Him. She loves creating curriculum as a member of The Old Schoolhouse Magazine’s® Star Contributors Team. She works with both SchoolhouseTeachers.com and The Old Schoolhouse Magazine® as an editorial assistant. She would love for you to stop by her website at WriteBonnieRose.com for some great homeschool freebies and resources on how to write for the homeschool market. Or connect with her on Facebook or Pinterest!

