This is a sponsored post written by me on behalf of Duck Brand®. All opinions are 100% mine.
You may not know this about my family yet, but the kids and I have been enthralled with duct tape for a very long time. Give my kids three rolls of duct tape and a couple of cardboard boxes, and you won’t see them for a few hours! It seems like they never run out of ideas for this combination of supplies, but a few years ago we had an especially good idea I’ve been wanting to share with you. We made the perfect school box using duct tape. 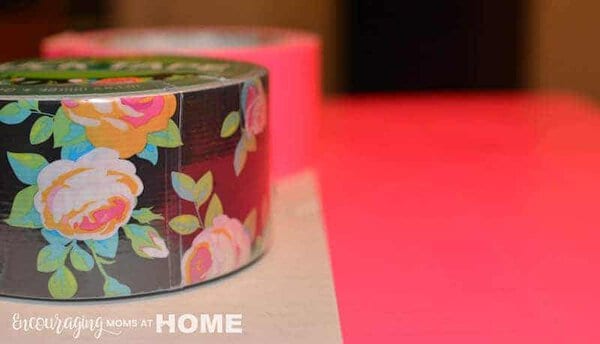 Here’s what happened. I had plastic boxes for the kids to store books and supplies, but they were too small, and cracked easily and every year they had to be replaced. So that particular year, my husband and I were on a mission to find the perfect box size, and one that either cost a lot less or lasted a lot longer, or both. We thought of those old fashioned banker boxes pretty early on. They are the perfect size, but made from folded up cardboard, they aren’t exactly made to be taken on and off a shelf with any frequency, so we didn’t think they’d hold up.
 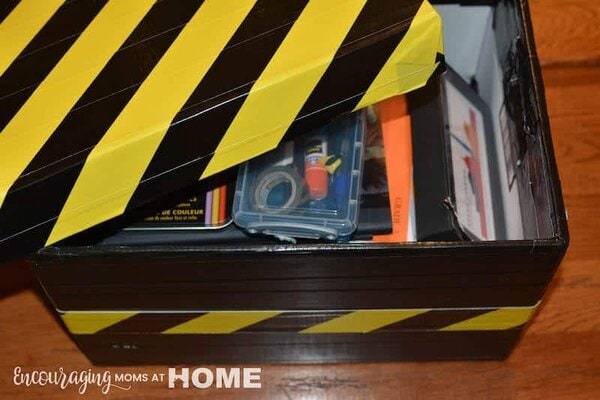 We needed boxes that could be pulled off a shelf every single day, carried through the house, filled up with random treasures and heavy books, maybe even get kicked a time or to, and get back to the shelf at the end of each day in one piece. After a fruitless search for “something better” we kept coming back to, “What about a banker’s box? It’s the perfect size and a lot cheaper!” This should have occurred to us much sooner than it did, but one day my husband finally said, “What if we let the kids cover a banker’s box in duct tape?”
 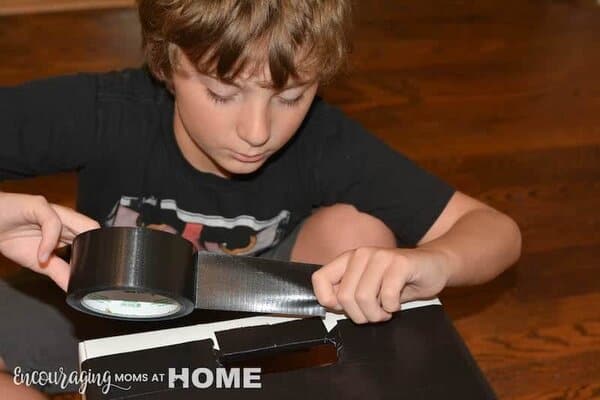 That was four years ago, and this year it was finally time to make new boxes. Our first kid-made duct tape school boxes lasted forever! When I told the three youngest we were going to the store for some duct tape to make new school boxes, they were beyond excited to pick awesome new colors and designs and make boxes for themselves.
 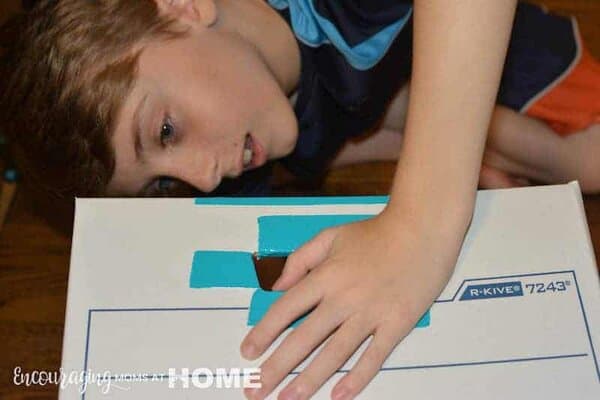 As we made our perfect school boxes this year, we really focused on what I called “duct tape best practices” for making boxes. We learned from a few mistakes in the past and improved on the process. When you make your box, it’s important to tape down the handle flap and edges first so that all of the tape around the handles is tucked under the outer layers and secure. Plus, that first handle layer looks a little messy, so hiding it is good.
It’s also a good idea to cover the bottom first, overlapping the edges all the way around the box, so that the top layer covers the overlap and keeps the bottom secure as it is pulled on and off a shelf. You can see both of those “first” layers in our pictures. 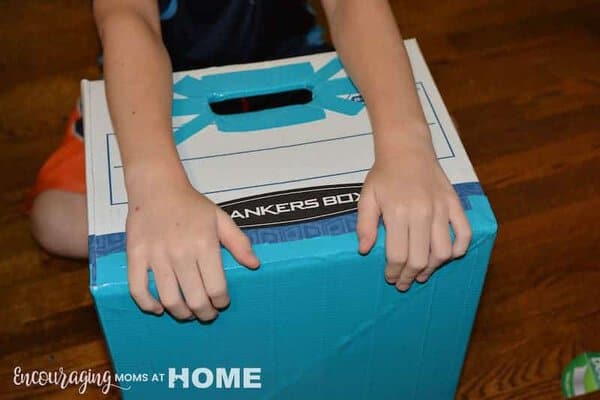 Once you have both handles securely taped and the bottom securely taped, you can work your way up the box. We like to do the short ends of the box first, overlapping corners to the sides, and then do the long sides of the box, overlapping corners to the ends. That makes the front of the box nice and smooth. We worked on covering the box together, because it does help if one person holds the tape firmly while someone else makes the cuts.
 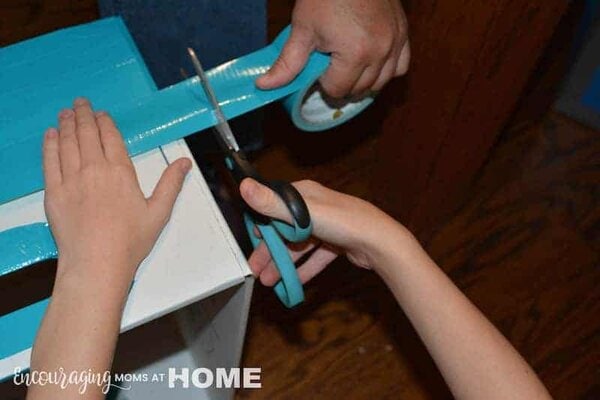 We found that the boxes we made in the past that were also taped on the inside held up better than those where we didn’t line inside with tape. So, this time around we are covering every surface of the box with tape, inside and out.
Finally, we found that it is super important to pay close attention to the corners on the lid, and make sure you get all the duct tape tight and clean on the inside corners, so that the lids can come on and off easily without pulling loose over time. 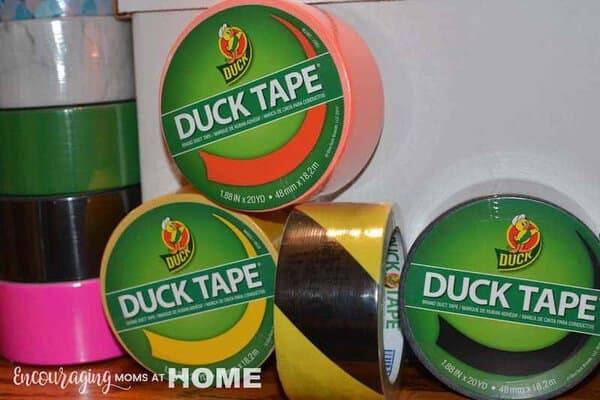 Each heavy-duty banker’s box took one one roll of Color Duck Tape® for the main color of the box, and one roll of Printed Duck Tape® for the lid inside and out and any embellishments. The inside of the box takes another half roll. The kids really enjoyed choosing fun print patterns and mixing colors to make a box that fully represents who they are. I love how many different colors and print options Duck® brand duct tape offers!
 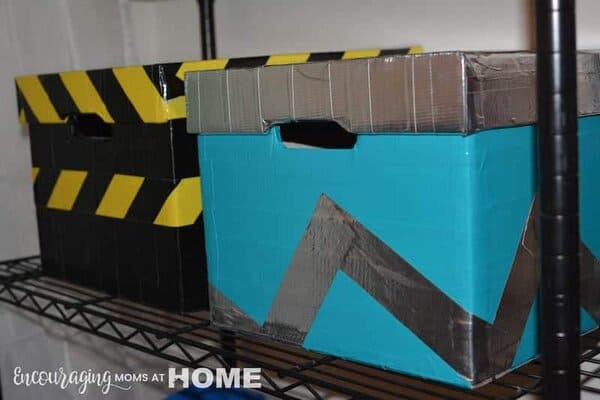 I couldn’t resist this pretty tape reminding me of mermaid scales, even though I don’t have any little girls any more, so I made myself a school box too. Mine is a small shipping box with an attached lid that I just happened to get in the mail. It turns out to be the perfect size for grading pencils, extra writing pencils, tape, scissors, and other teacher-mom accessories, like chocolate. (Shhhh!) Also, my box happens to be the perfect size for gift giving – tape it pretty, fill it with tissue, and add a gift. The recipient can keep the awesome box as an extra bonus gift!
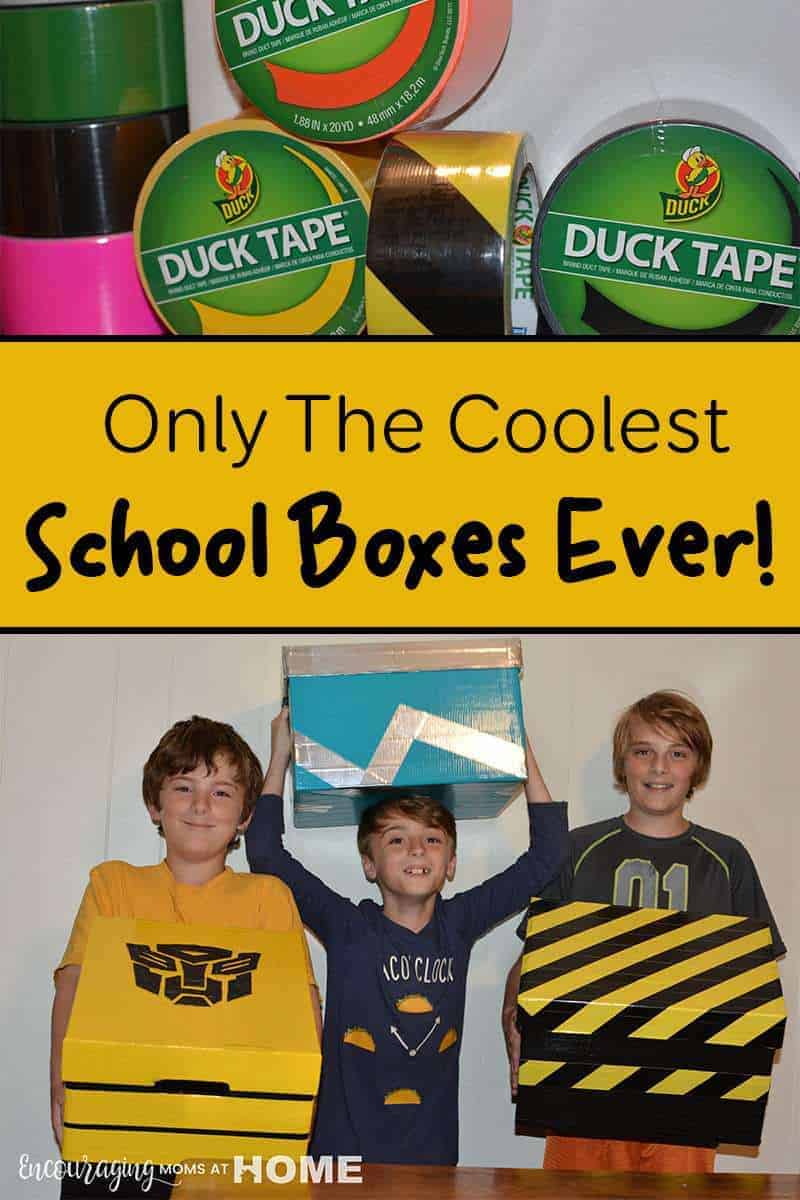
 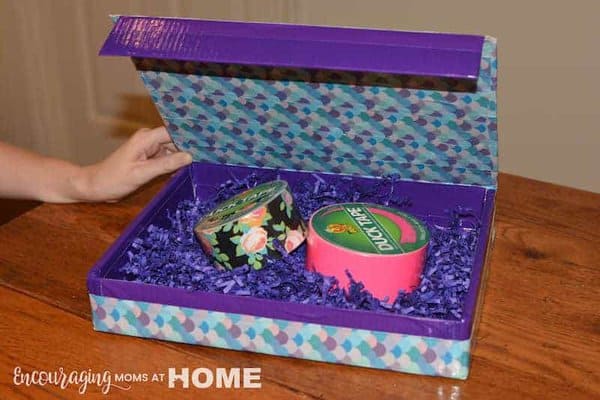 The best thing about this project is that we did it together. My little boys helped cut and apply duct tape to their boxes, but I was more involved. My 12-year-old pretty much did his box on his own, until he got to the lid and needed help lining up the hazard tape pattern. We had fun doing that together!
Even on my box, I needed help cutting tape, because it really helps to pull the duct tape tight from both sides while someone else cuts. One of my boys wanted to make a fancy appliqué for the top of his box — but made out of duct tape! He needed the help of his teenage brother (who chose not to make his own box) for that project and between the two of them they spent the better part of a day working out the design and making it happen. I love that these boxes turned out to be a family project and we can all take pride in the end result. 


Leave a Reply