I often get asked, ‘What do I need to buy to teach for VIPKID?’ I’ve decided to give you my list of the best VIPKID props and accessories. I’ll make sure to note what is required and what is optional for you. Some of these you’ll want to purchase prior to interviewing; the rest can be purchased once you have been hired. Here are my top picks!
I like to keep it simple in my teaching. It’s no secret that I am not a crafty person. When I taught in the brick and mortar classroom I wasn’t into elaborate bulletin boards, tons of velcro award systems, or laminating and cutting props for teaching. I went with a simpler approach and put up a wall of fame with pictures of my students at their various sporting activities, recitals, or events instead.
Not only did I enjoy going to these events, the students loved seeing themselves on the wall of fame! This simplistic approach carries over into my VIPKID classroom as well. I’m not taking away the fun or the rewards, I’m changing it and approaching it from a non-crafty standpoint. My VIPKID props and accessories work well and still bring a smile, which is always one of my top goals.
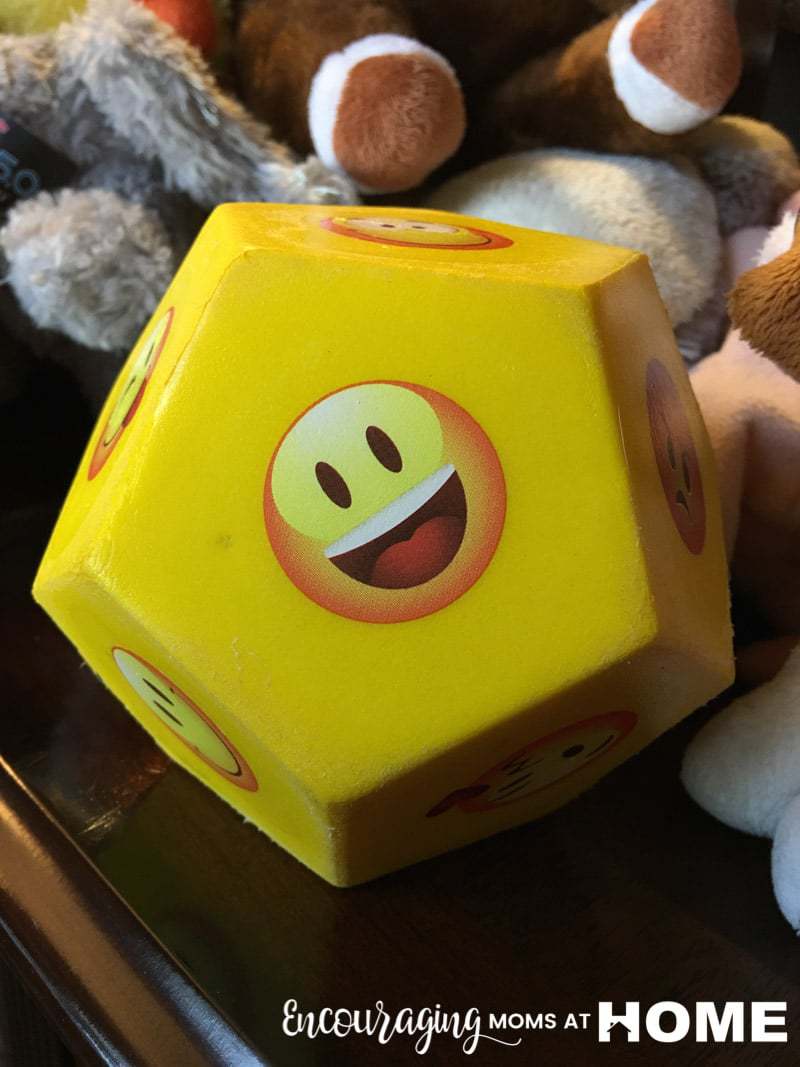
The first thing that I would consider a MUST HAVE is some sort of emoji ball. You can see mine here. I found this at Five Below but after much discussion and comments on YouTube it became clear that this particular emoji ball is hard to find. If you see one, snatch it up for 5 bucks at your local Five Below. If you can’t find it, any of these things will do just fine: emoji stickers, emoji erasers, emoji keychains, emoji bracelets, emoji balls, emoji pillows, or emoji toys.
The key here is…you guessed it! Emojis! Not only do the students light up when they see an emoji, they are actually very useful in the classroom! You’ll get your money’s worth from this prop. You can use the emoji when you greet the student daily. My greeting usually goes something like this, “Hello! How are you?” When they say, “I’m fine, how are you?” I find the “fine” (simple smiling face) emoji and show it to them. Then I switch it to the super happy face emoji and I say, “I am HAPPY to see you!!” It always brings a smile.
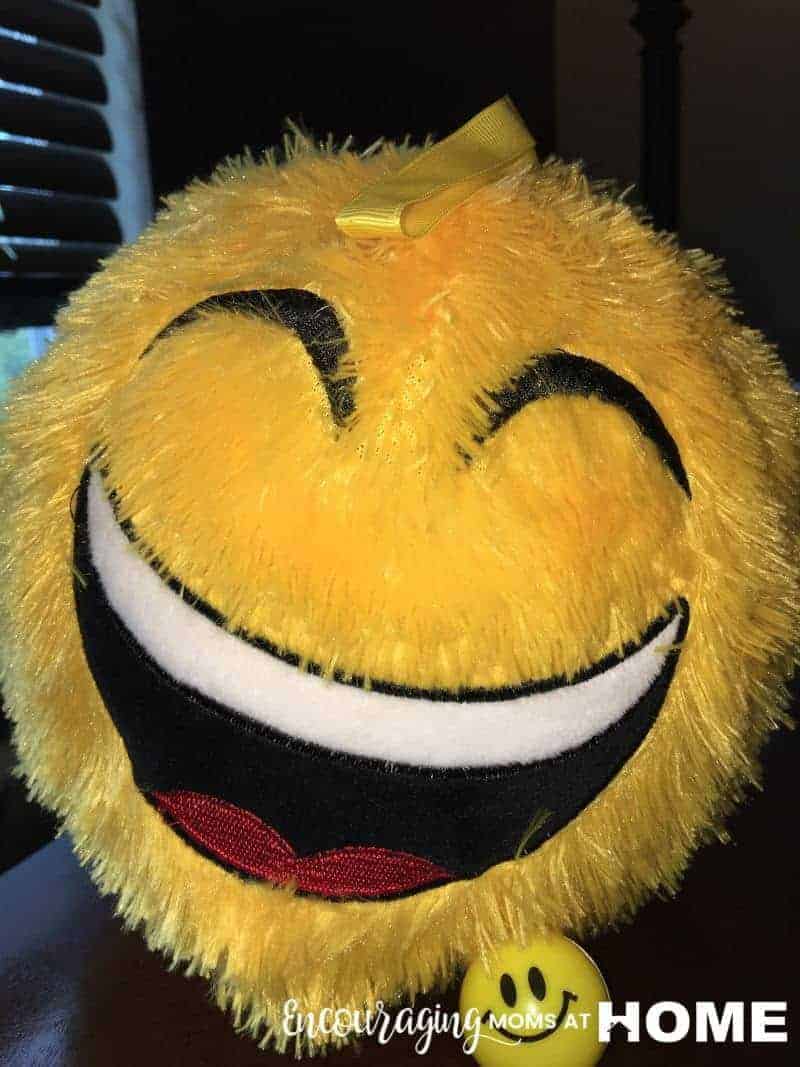
In addition to the greeting, you can also use the emojis for multiple songs, chants, and good-bye songs that VIPKID uses. They have an entire unit on feelings…enter emoji ball! You can show all of the different feelings! I use my emoji ball every single day. I have multiple emoji props. I also use a fuzzy emoji ball to make a robot voice to either get the student’s attention or to have them repeat key vocabulary in a robot voice back to me. This one always makes them laugh. I love it!

Another must have prop is your headset. This is a REQUIRED accessory for VIPKID but you will actually be able to use it as a prop as well during the unit on the VIPKID classroom. I point to and even take it off to bring them closer to the camera to show the students what headphones are. The headset is KEY for your interview. If you don’t have one they will not be able to hear you. Not only that, but when you teach, if you don’t have a headset it will cause bad echoing and feedback that will be very unpleasant for your student. This could result in bad feedback for you from the parents.
(If you’re teaching now and you hear this echo it means your student isn’t using headphones. You can leave feedback and let them know they need headphones. The lead teacher in China will see that and make sure the issue is resolved. I’ve done this multiple times.)
For my interview, I actually didn’t have a headset; he couldn’t hear me very well at all but thank goodness he passed me through! I bought a cheap set at Walmart for my mock classes. They worked great until I got a cold that resulted in a lingering cough. So now, I use this headset that can be muted with the push of a button. I highly recommend this for teachers. It is so nice to be able to mute as soon as class is over and keep it muted until the next class begins. I mute when I’m coughing, clearing my throat, sneezing…or occasionally giving a quick shout to tell my boys to quiet down. The other requirements for you are to have a computer with a STRONG Internet connection and a webcam. (Built-in webcams work fine!)
You’ll also want to get some kind of puppet or stuffed animal that can be your go-to prop for changing your voice. I always have my kiddos repeat the new vocabulary in multiple voices (at the recommendation of VIPKID). Instead of just raising or lowering my voice, I pull out a monster stuffed animal that my daughter had in her room and I put it in front of my face when I say the word in this voice. The monster is my go-to, but I use other stuffed animals as well, most often a monkey and my robot emoji ball.
You will want to buy or find something very BIG and something very SMALL. Shockingly I use emojis for this as well, LOL. I found a huge emoji flying saucer and then I have an emoji ping pong ball. When I’m teaching the big/small concept (whether it’s for animal lessons or introducing big and small letters) I pull these out and the students light up with a huge smile. Recently, on vacation, we bought a huge pretzel raft for our daughter to use in the pool. It will now be my new BIG item and a normal pretzel from the store will be my “small.” Anything works here! Be creative; you don’t have to break the bank! Raid your kids’ rooms first. 🙂
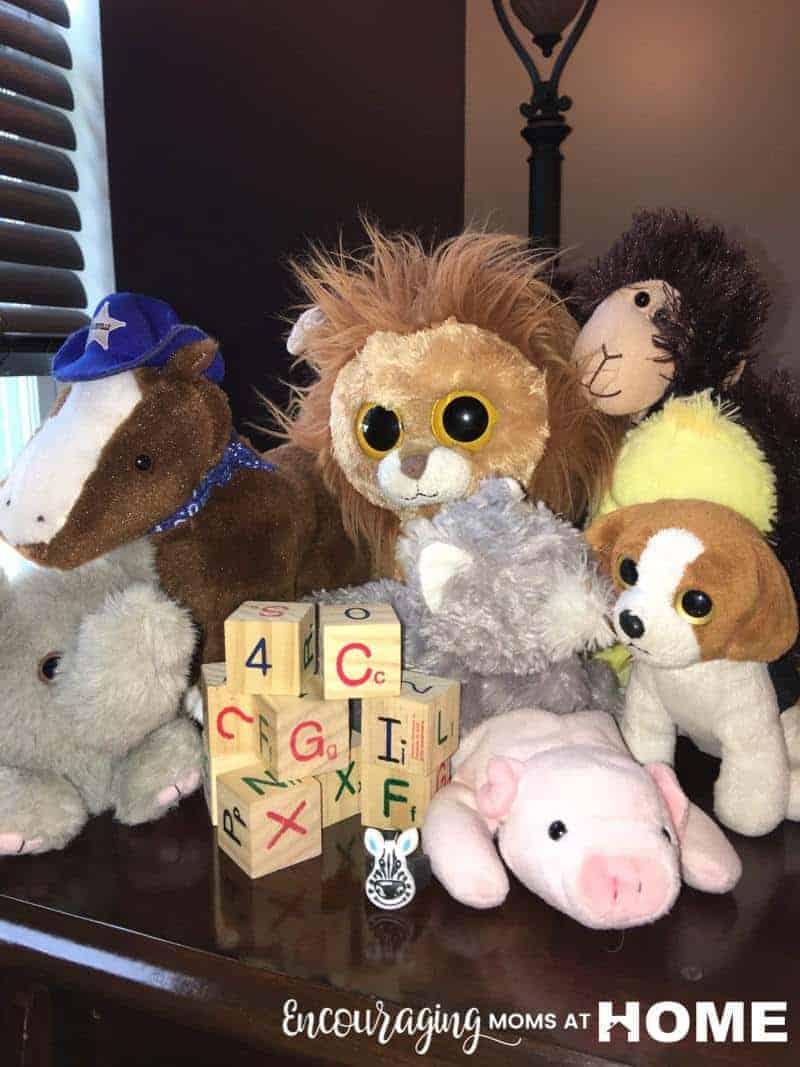
A basic set of animals including a horse, pig, cat, dog, lion, and elephant. You want to have a couple of wild animals, a couple of house pets, and a couple of farm animals, so don’t stress if you can’t find these exactly. It can be a zebra instead of a lion or a duck instead of a horse. It’s just nice during these lessons to be able to hold up a prop now and then. You’ll also be able to use them during lessons that use these animals in sentences that the students are reading. If you don’t have or can’t find the stuffed animals, you can also buy animal cubes that rotate to make multiple animals. These blocks also take up much less space and are great for travel!
A set of letter blocks or flashcards are another must have. I found my block set at Dollar Tree for one dollar. It’s the best dollar I’ve spent. I use them daily. Nearly every lesson for lower levels has a letter review. I hold up the letter blocks any time I am teaching letters, letter sounds, or reviewing letter blends. I also hold it up for upper levels if a student is struggling with a pronunciation of a word, to emphasize that it ends with a /b/ sound for example instead of a /d/ sound.
That’s my top 5 must haves! Additional items I use frequently are a computer mouse (as a prop; I use my track pad for teaching), a can of soup with the label off (to illustrate the noun “can”) and I use dice often to show numbers.
The best prop you have that won’t cost you a thing are your hands! I use my hands all.the.time. It fulfills the TPR requirements and, of course, they’re just handy! No pun intended lol. I use them to show “how many,” to show body parts, and even to show the members of a family! Instead of buying finger puppets, I just draw the family members on my fingers. The kids love that! They think it’s rebellious, I’m sure. Again, keep it simple but don’t sacrifice the fun and interaction.
#5. A set of letter blocks or flashcards
#4. A set of basic animals
#3. Something BIG and something SMALL
#2. Headset
#1. Emoji ball (pillow, ball, toy, stickers, etc.)


[…] blocks and a stuffed monkey. I grabbed a couple of dry erase boards and that was it! I was set. I raided my kids’ rooms for the rest of my props. They didn’t miss a […]