My absolute favorite home-preserved fruit that my dad made when I was growing up was Strawberry Freezer Jam. Dad would sometimes take us to U-pick strawberry fields where we would pick for hours (it seemed like). When we got home, he or Mom would go to work washing, mixing, cooking, and jarring pint after pint of the freezer jam. Then the jars would be set on the counter to seal and as soon as they sealed and cooled, they went into the freezer. If they didn’t seal – oh joy! We could use those jars right away on PB&J sandwiches or biscuits. So good!
Strawberry Freezer Jam was also my first attempt to preserve food at home as an adult. I’ve made it several times, and enjoyed every drop of the bright, sweet jelly that results from a few hours’ labor. Of course, I buy my strawberries at the market so it isn’t super cost-effective, but so much better than store bought jelly. You can truly taste the difference.
Another personal favorite is plum jelly. My husband found a recipe a few years ago for Plum Jelly in the microwave and it is so good! Making jelly doesn’t always mean you are making multiple jars for canning! It can be as simple as fifteen minutes in the microwave and enough delicious, seasonal jelly for a week.
The Difference Between Jelly and Jam
The basic process for making jellies and jams involves combining the ripe fruit and sugar with pectin to turn it into a fruit spread or preserve that won’t spoil as quickly and tastes amazing on breads of all kind, ice-cream, pancakes, cakes, crackers, and more. Maybe you are wondering what the difference is between jam and jelly.
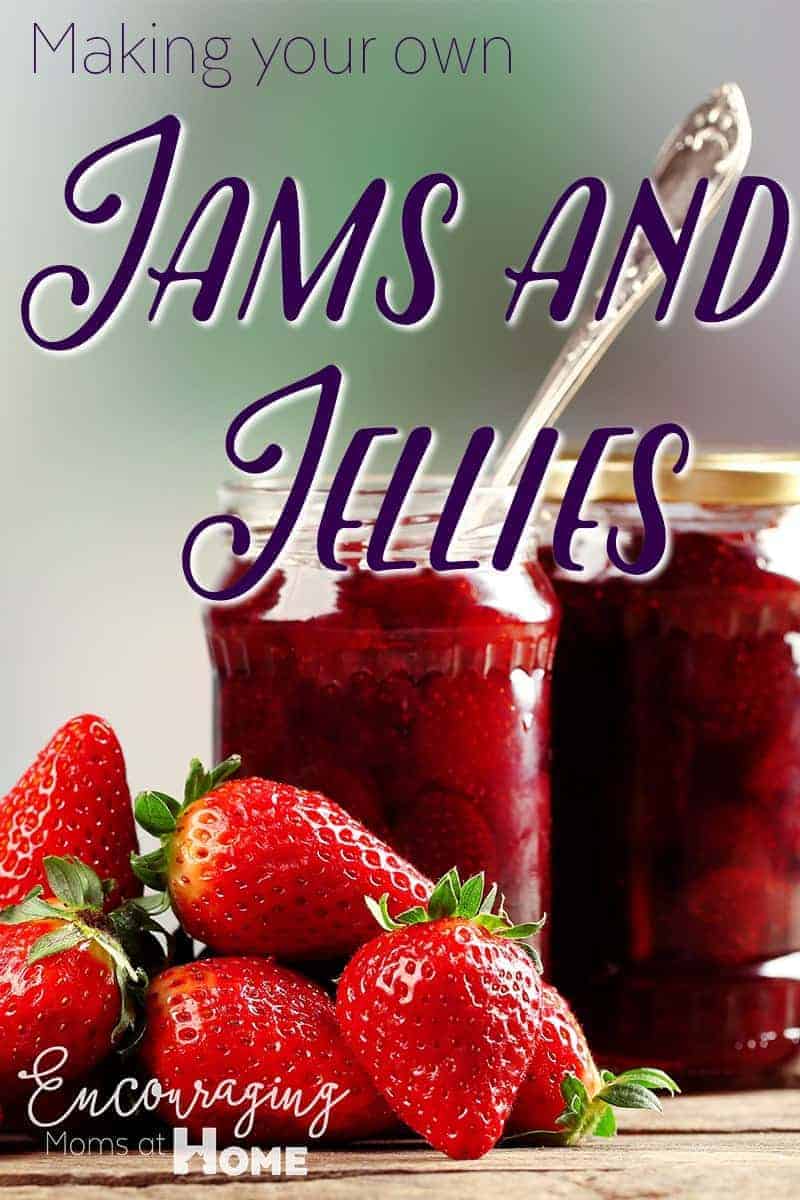
Jelly is made from juice, while jam includes the whole fruit. However, the process is very much the same. To make jelly, you simply add one step – straining out the juice from all the pulp and flesh. The overall process to make jam or jelly involves cooking the fresh fruit with sugar and possibly some form of pectin. Each recipe is a little different and you can find jelly recipes with other additions. Once everything is cooked, the mixture is added to jars and cooled. As it cools in a sealed jar, the change in pressure will (usually) cause the jar to seal.
Start with Freezer Jam
Freezer jam is a great first “food preservation” experience. Most recipes call for nothing more difficult than fresh fruit, sugar, and Sure-Jell. You cook the mixture to make jam, place it in containers (they have plastic jars for the freezer now!), let it cool, and pop it in the freezer until you are ready for it. It’s a quick and easy way to use fresh berries. This type of jam is quick and easy to make. While you can use glass jars and that’s what my dad used when I was growing up, there’s always a risk of the glass busting when it is frozen. It’s safer and easier to use the new plastic jars when making freezer jam.
Canning Jellies and Jams
Once you have some freezer jam under your belt, your next step is to prepare traditional jellies and jams that are canned for long-term storage. Canning your jelly allows you to keep the fruits of your labor for a year or longer. That’s where canning comes into play. You will make a batch of jelly or jam, ladle the hot fruit mix into canning jars, and then process them in a hot water bath. Follow your canner’s directions for processing the finished canned jellies and jams. The results are delicious!


Leave a Reply