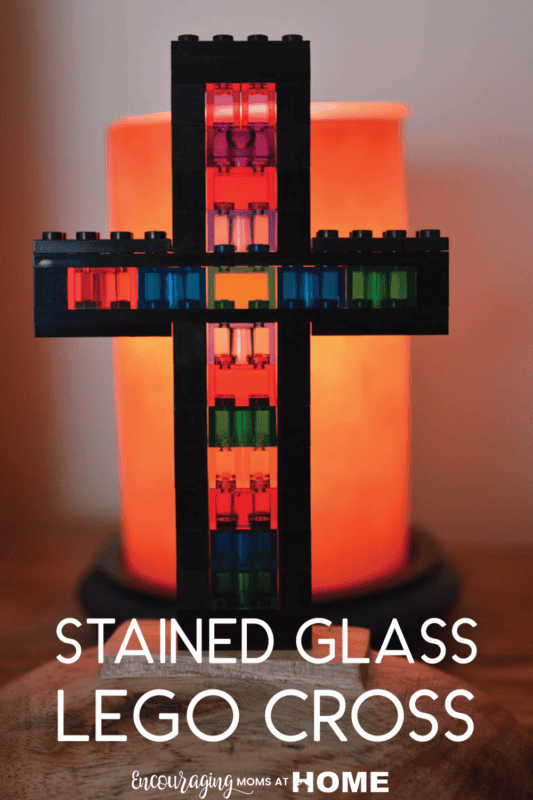
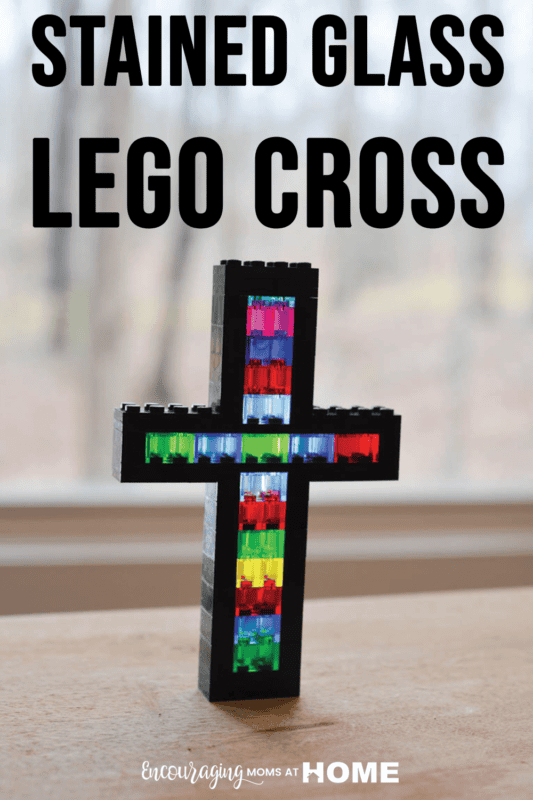
As Passion week approaches, planning some simple activities to do with your kids helps your family focus on Christ this Easter season. LEGO® bricks are the perfect way to get your kids engaged. Use our beautiful design and instructions to build a stained glass LEGO Cross for Easter this week. Once you are finished if you’d like another great cross to make, try these Cross painted rocks for Easter.
The really cool thing about the transparent legos used for this project is that they allow light to shine through and draw attention to the cross. I love how this reminds us that Jesus is the Light of the world, and his sacrifice on the cross changed everything. You’ll notice in some of the pictures that our LEGO cross reflects colors from the bricks into the room. What a neat effect!
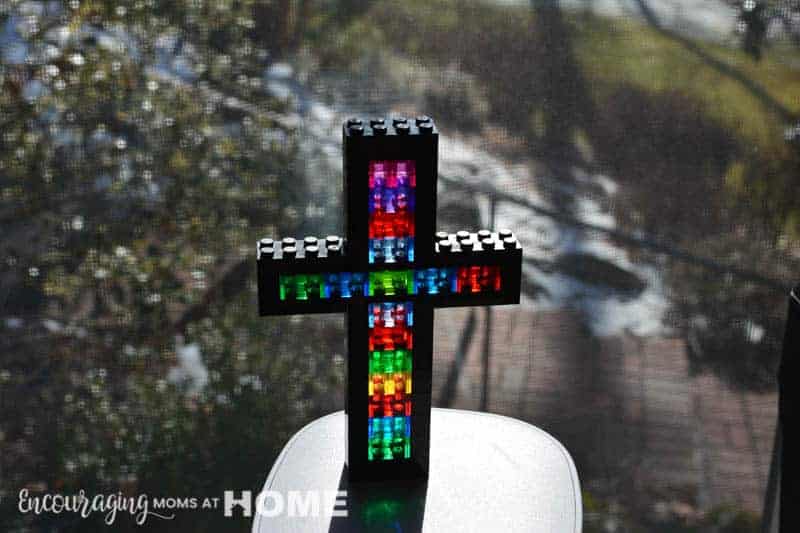
The Design
Because we wanted it to actually look like stained glass, we outlined our Stained Glass LEGO Cross with black bricks. This kind of glass has been used to decorate churches and celebrate Jesus for centuries, so it seemed very appropriate to us to make that choice. The black pieces were borrowed from other sets we had on hand because the transparent set is all bright colors, no black.
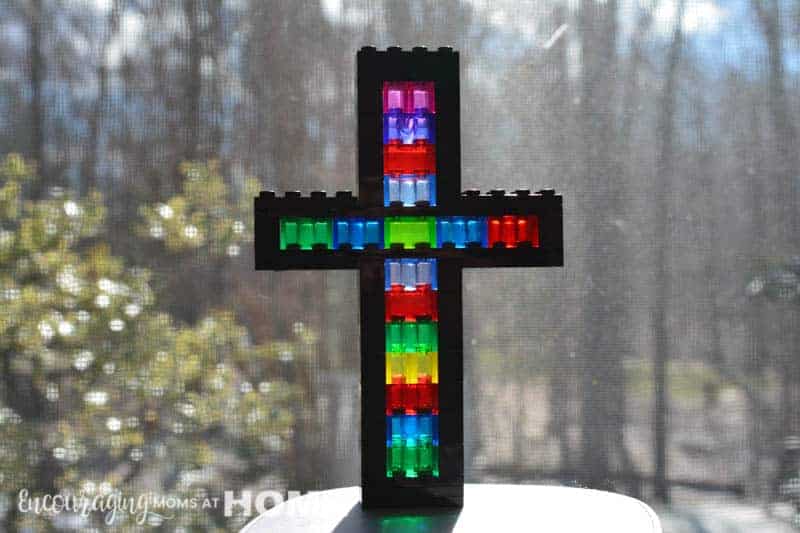
I love that this Easter cross looks great decorating my home, and isn’t just a child’s toy. LEGO bricks rock! I’m keeping our cross near a window so it draws our eye when the sun shines through. A stained glass LEGO cross reminds us of Jesus’ death, burial, and resurrection. My eleven-year-old son designed this cross, on his own, with just a few suggestions from me like the black outline.
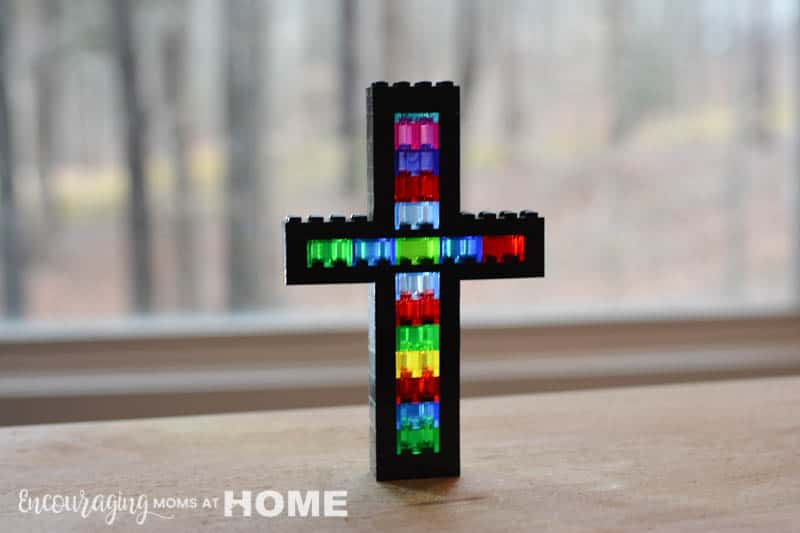
We’re providing all of the instructions, but you do not have to stick with our dimensions to make a perfect stained glass LEGO cross! Use the bricks you have, and design your own. You could even host a family competition with this! We used two-by-two transparent bricks from this set for the bulk of our see-thru pieces. We did have to snag a few two-by-two see-thru bricks from my son’s collection to make this cross as shown.
Supplies for the Stained Glass LEGO Cross
To begin you will need the bricks shown in the image above. This includes ten black flat 4x2s, two black flat 2x12s, twenty-four black 1x2s, and 16 transparent 2×2 bricks. If you do not have enough 2×2 transparent bricks you can sub two 1×2 bricks instead. Six of the flat 2×4 black bricks can be substituted with two 2×4 regular black bricks if needed.
Instructions for the Base
For the base of your Lego cross, you will have three stacked flat 4x2s (or one black 2×4 brick). Then you build the seven 1×2 black bricks up either side. As you go, place seven transparent 2×2 bricks up the middle. This forms the base of the cross.
Instructions for the Arms
To make the arms of the cross, place a 2×12 flat centered across the base. Then add five transparent bricks across the center. Place a 1×2 black on either end of the arm. Then add another 2×12 flat across the top of the arm. To make the black outline thicker, we placed flat 2×4 bricks on the upper and lower edge on each side.
Instructions for the Top
Continue building the top of the cross with four 2×2 transparent bricks flanked by black 1x2s on either side. Top this with three more flat black 2×4 bricks (or one black 2×4 brick) for the finishing touch.
You are finished! Behold your stained glass LEGO cross!
Next. Build our Rainbow LEGO Easter Cross. It’s a completely different style and equally cool!
Leave a Reply