I love to teach preschool to my children with themes. Right now, my twins and I are celebrating the theme of snow. We are reading books about snow, coloring pretty pictures with snow, and creating snow crafts. This week, one of our suggestions for preschool was a puffy paint snowman craft. Unfortunately, it was just a suggestion with no real instructions – I had to figure it out myself. I’m saving you the trouble! Here’s how to make puffy paint using shaving cream and glue and how to paint a shaving cream snowman with your child.
Supplies to Make a Puffy Paint Snowman
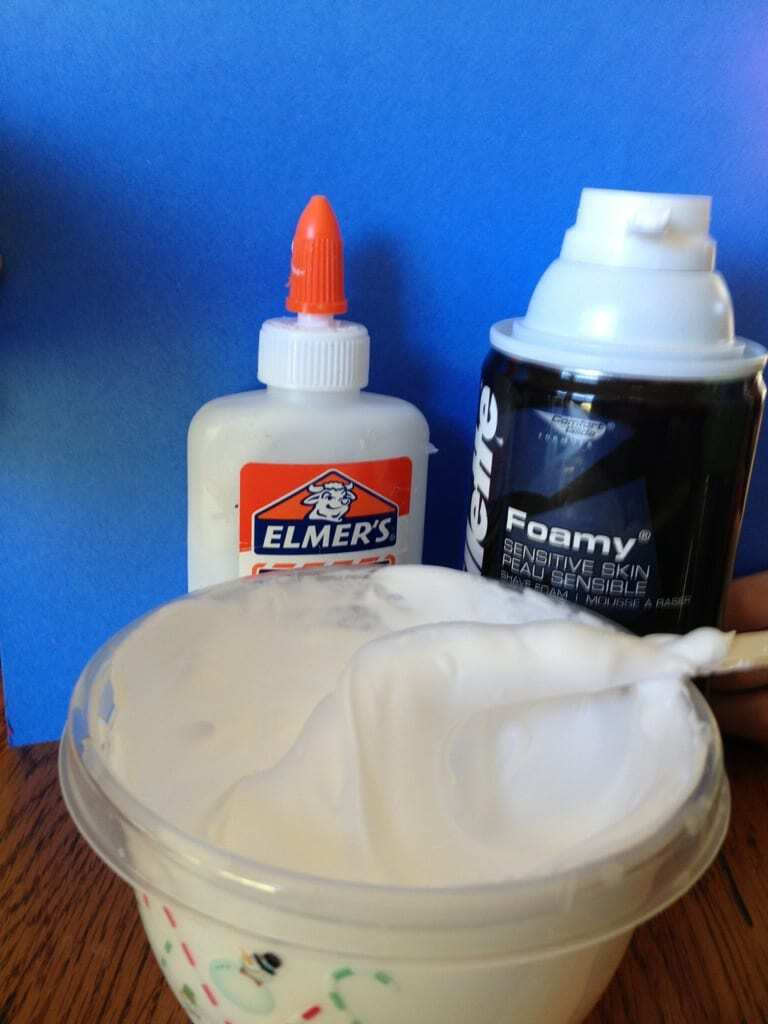
First, you need to gather supplies. You will need old-fashioned shaving cream (not gel), school glue, blue or black construction paper for the background, black, brown, and orange construction paper scraps for the snowman decorations, a small cup or bowl, a craft stick for stirring, and some paintbrushes. By the way, this shaving cream snowman craft goes perfectly with our Preschool Weather Unit.
How to Make Puffy Paint with Shaving Cream and Glue
Next, you need to make your puffy paint. I used a baseball-sized squirt of shaving cream with about three tablespoons of glue. You don’t have to be exact with measuring — it’s a pretty forgiving recipe. Place these ingredients in a bowl and stir. Try tapping some on construction paper. Is it puffy? If not, add a little or one ingredient and try again. When the paint works the way you want, it’s time to paint.
Setting Up for Crafting Success
Don’t just hand a paintbrush to a little child and expect it to turn out. You need to give your preschool child instructions to set them up for success. We lived in California when my boys were little, so at this time, they had never seen a snowman in real life. Reading a book about snowmen and looking at pictures was an important part of our crafting experience. Our conversation started with “What parts are in a snowman?” We talked about the bottom, middle, and head. I asked what shape they would be (circle) and what color. I mentioned that the bottom would be the biggest part, and that’s how we would start.
Step-By-Step Shaving Cream Snowman
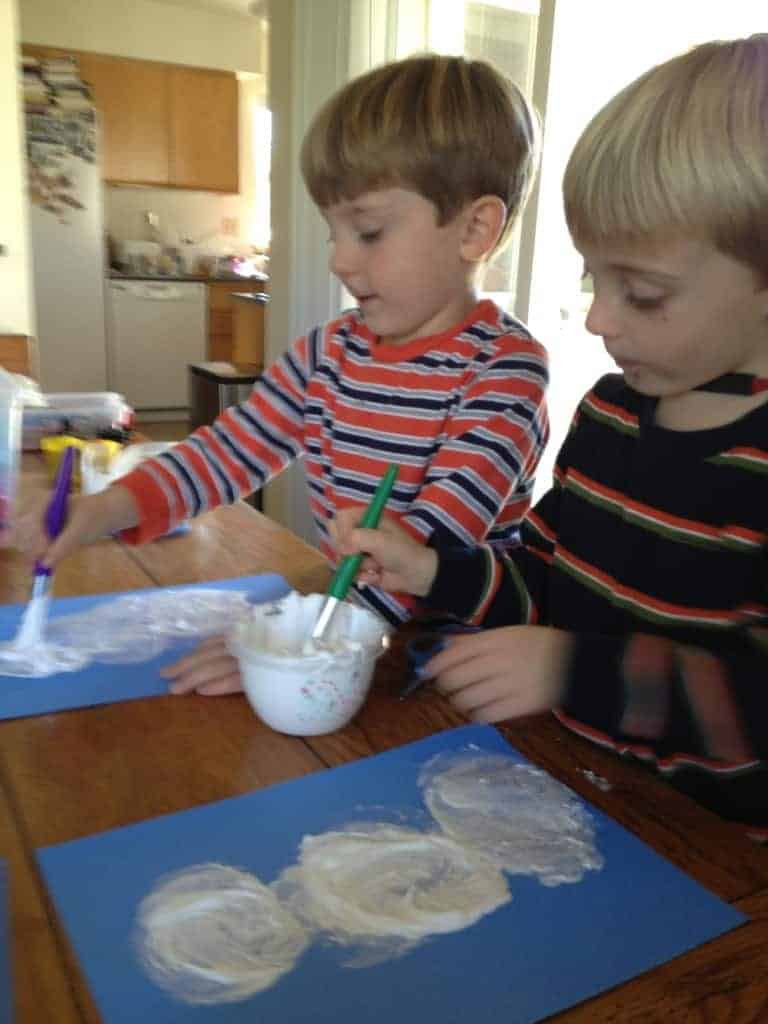
Start giving your child his supplies. I handed them the paper and a paintbrush first. Then I asked them to tell me which part they were painting first (the bottom) and which part was the biggest (the bottom) and what shape it would be. I talked them through each step of the way.
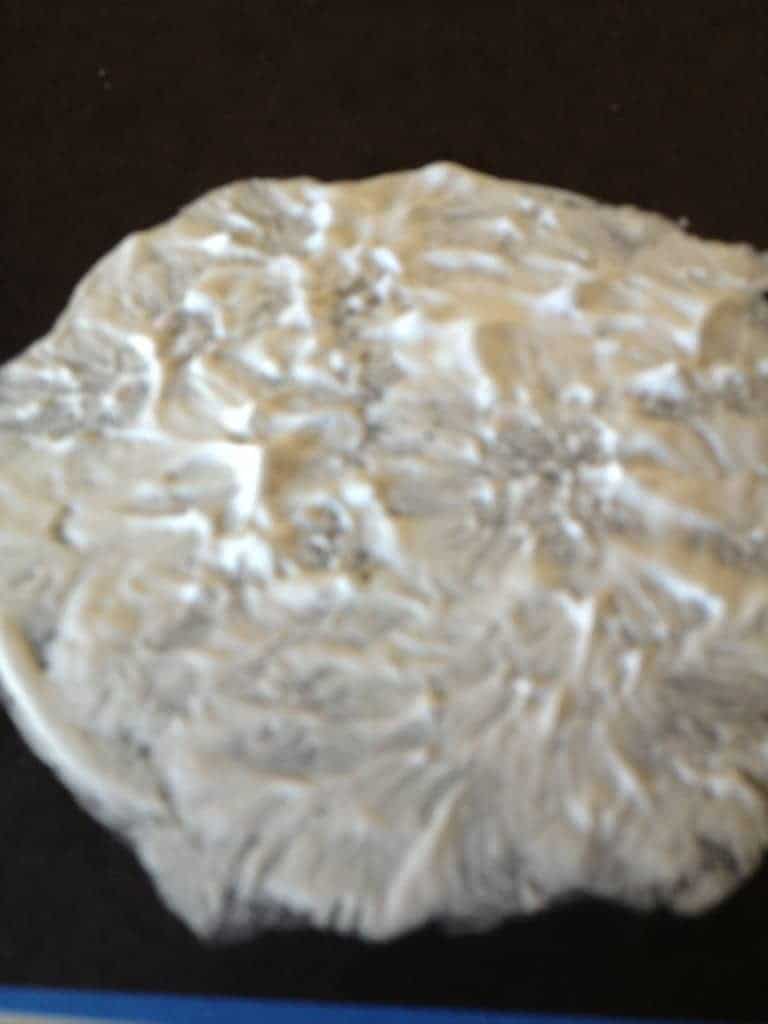
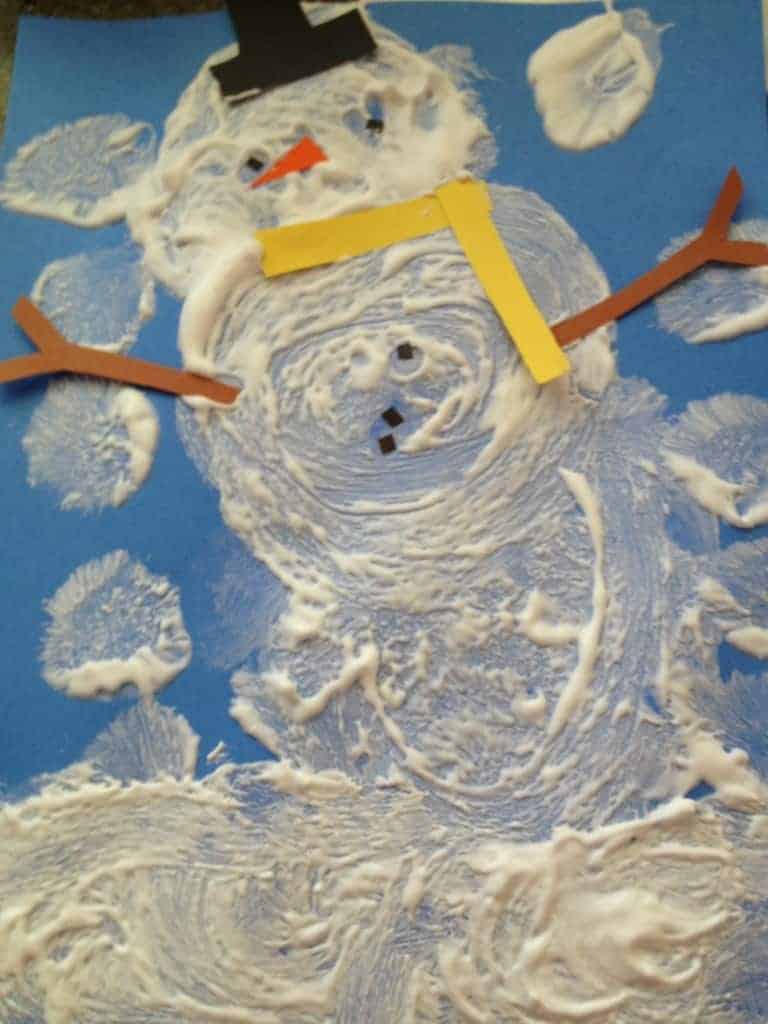
Have your child start painting. Help them make a circle to outline the bottom and then they can fill it in more thickly. Some of my kids liked to “stipple” the paint on (dabbing up and down), and some liked to smear the paint on in a more traditional method. Once the snowman is finished, you can add snow falling and snow on the ground if you wish. Handling a paintbrush, creating their own art, and doing everything themselves is really good for preschool children, so resist the urge to do it all for them. A little guidance does help them love the result though.
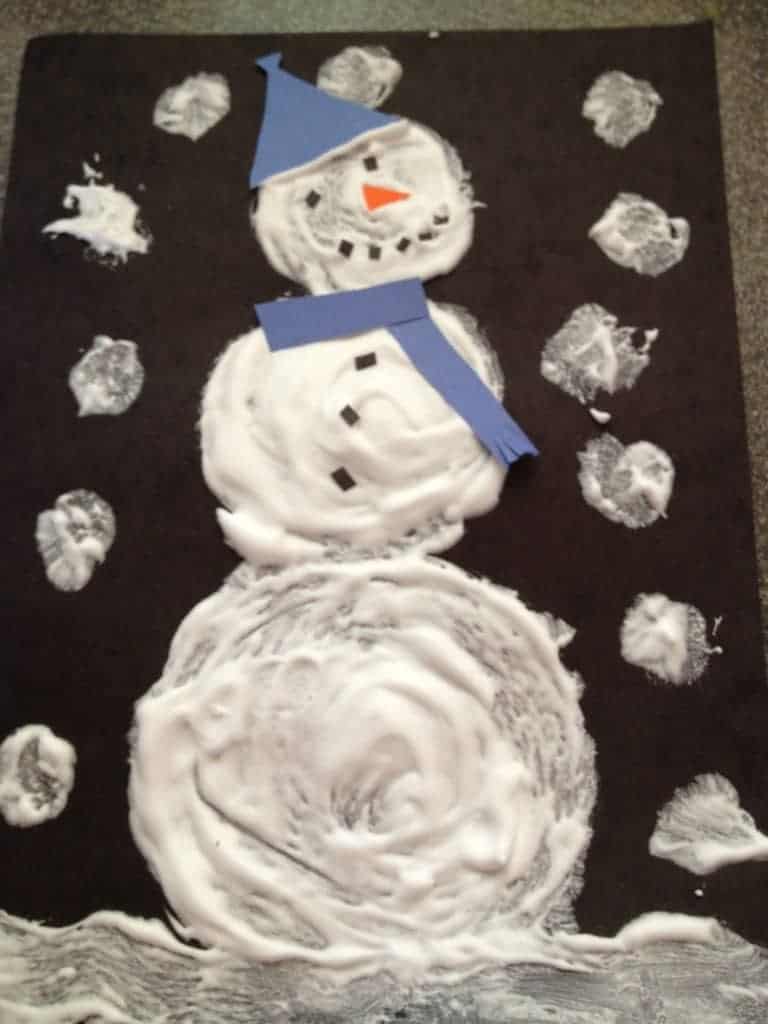
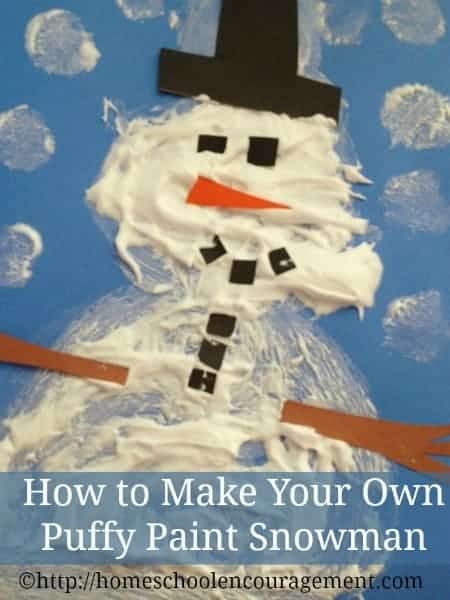
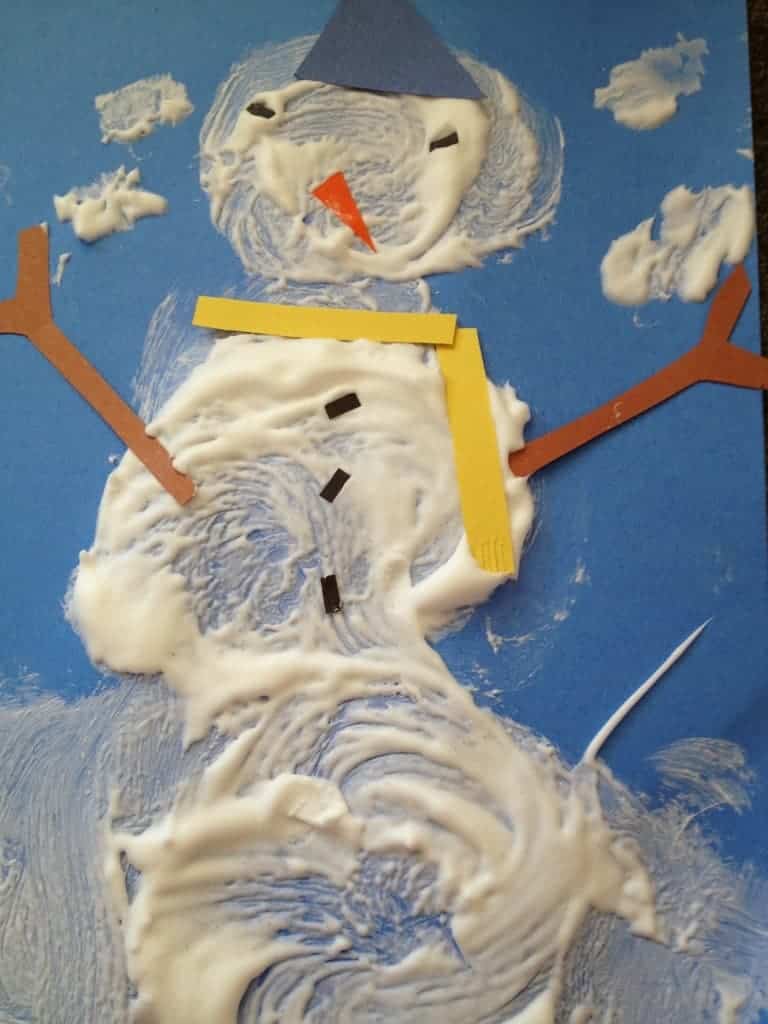
Finish by decorating your snowmen with eyes, nose, mouth, buttons, arms, and perhaps a scarf or hat cut out of construction paper. Depending on your child’s age, you can have them cut out these parts themselves, or provide the pieces already cut. Since my boys were so little, I freehand cut out hats, eyes, noses, scarves, and arms before we started.
Finishing Your Puffy Paint Snowman
set the finished snowman aside for a day or so to dry and then display it proudly. If your home is anything like mine, you will have more than one snowman for display! You might have noticed I couldn’t resist making one of my own.
More Great Crafts for Preschool
If you loved this shaving cream snowman, be sure to take a look at some of our other preschool crafts. These Bubble Wrap Painting Valentine Heart Magnets are one of my favorite projects ever! They turn out so pretty. You could also make this adorable Butterfly Magnet come Spring. Round it all out with some Edible Playdough with Peeps.


That looks like such a fun snowman craft.
how long is this mixture good for? if we wanted to do this for a kindergarten class and make it ahead would that work?
I’m not sure. I used it within 20 minutes of mixing.